Showing posts with label decor. Show all posts

Marbled Skull Canvas Art DIY

Haven't blogged for awhile, oh well! Not going to get into it. 

Halloween is my favorite holiday. And though I set the boundary for decorating and wait until the 1st of October, that doesn't mean I can't prepare.


I found this felt decoration at the dollar tree and knowing I had a blank canvas at home, this is what I came up with. I have a picture ledge above the bed that I like to redecorate occasionally so once I give myself permission, that's where it can go. 

You'll need:

  • Canvas size 18x24
  • Felt decoration
  • Nail polish in colors of your choice
  • Water and container big enough for canvas to lie in


The totals cost of this for me was $1 since I had everything else on hand. Depending on if you need to buy a canvas and nail polish or not, I'd say it might range from $5-$10. Get your Michaels coupon for the canvas :)

To do the marbling effect I used this tutorial. 

I want to stress three important things when using this method:

  1. Use gloves! Otherwise you WILL get nail polish all over your hand. 
  2. Use a disposable container, or one you don't care about. It will get dirty.  
  3. Once you start pouring the colors, I would pour, then swirl, pour then swirl etc. I poured all my colors at once, and when I went to swirl, they had already set. I liked what came out anyways, but it could have been even more swirly than this. 


After doing the marbling, I let it dry overnight. I tried every combo on the skull overtop the design before glueing down, trying to line it up so the design would be able to show through the teeth and eyes in the best way.

After adding glue to the entire backside, I placed it down as centered as I could, and gently rubbed into place.


A very easy project, and a cool modern halloween vibe. Now to wait for October 1st!


Tuesday, September 15, 2015

DIY Tripod Christmas Tree


      Today I noticed it was already the 3rd of December and after dealing with the inevitability of time constantly passing I thought to myself "should I do a tree this year or not?'

      Last year I bought a sad 2 foot tall, pre-lit tinsel tree at a dollar store and it was so dumb. The year before I tacked up string lights to the wall in the shape of a tree. That was much cooler, but man.... did I leave some holes in the wall. Sorry landlord.

      So for this year, I wanted something a little more grand, but that was still doable in our teeny apartment. Oh, and also cheap. Like dirt, cheap. Nothing says the holidays like being flat out broke.

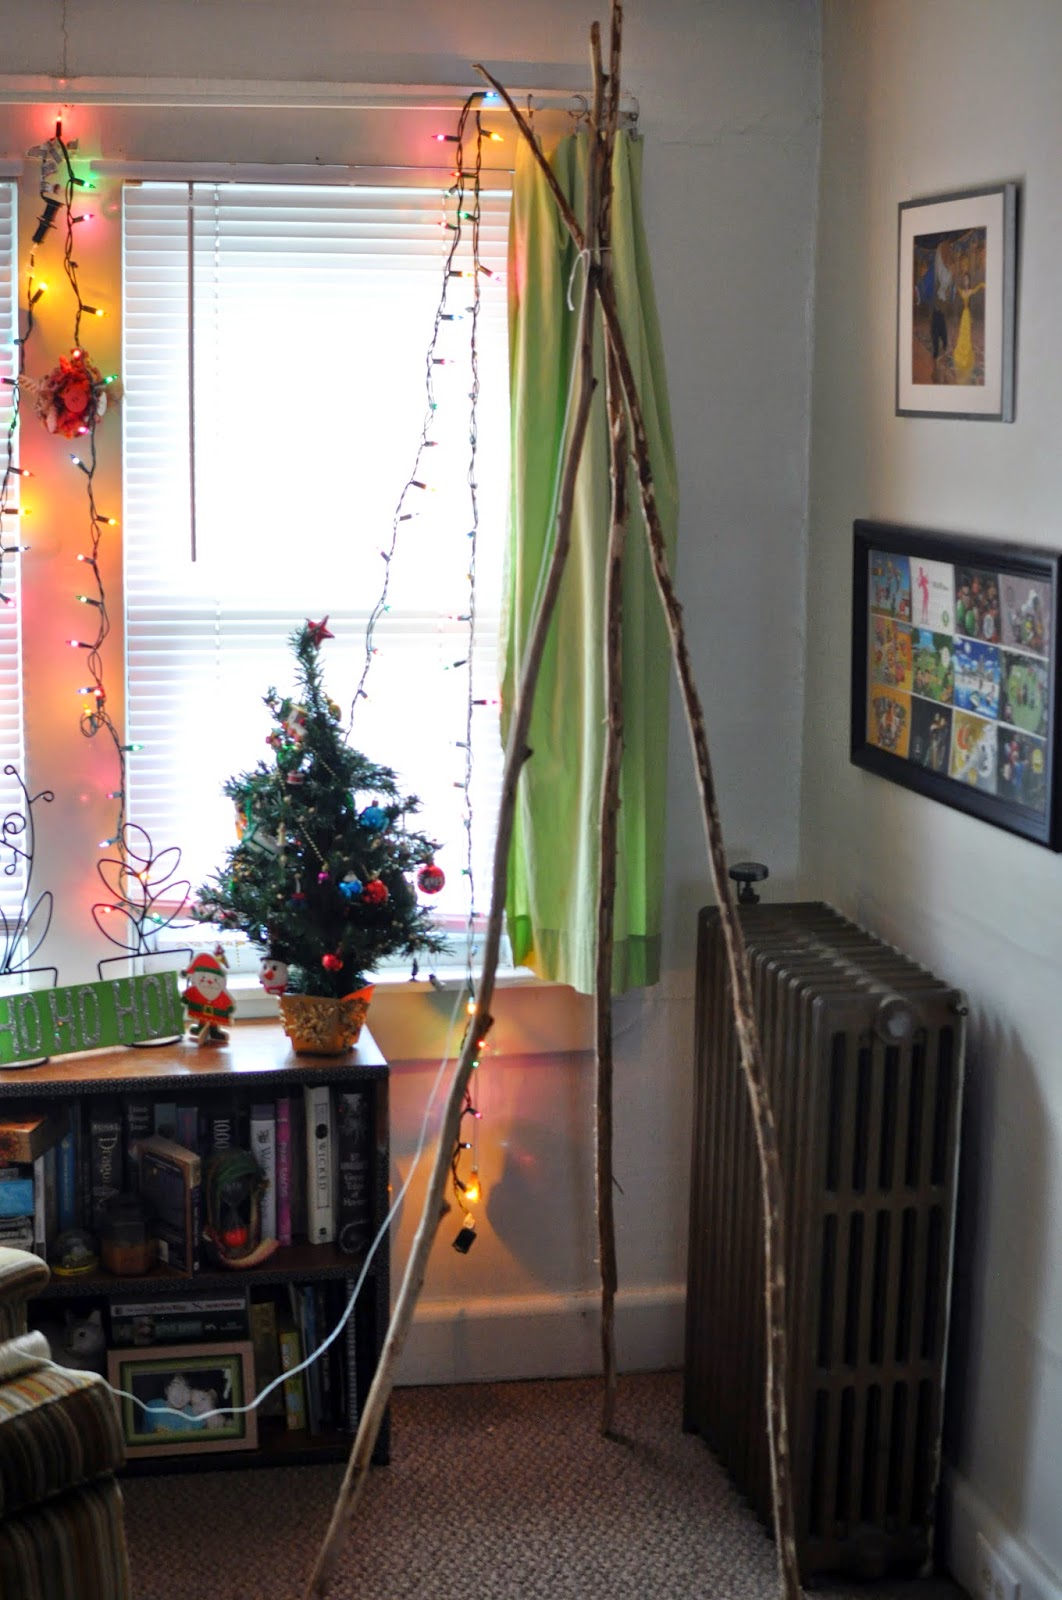
      My solution at first was going to be to go out and buy dowels. But that requires money! Instead, I went outside and found sticks on the ground. For free!


      You obviously can use dowels if you want. And the length depends on the  height you want the tree to be. I wanted something decently tall, so these are about 6 feet long. 


      It's been raining here for the past few days so the sticks I found were yucky and damp. It you find nice dry, pretty sticks, you don't have to go to the troubling of whittling them unless you like that look. This took me a long time! But I wanted to get this done today, and I like the lighter wood underneath the bark. 


      I am no perfectionist, this is what I ended up with. I did some light sanding, but I'm sure with more effort I could have smoothed them down much more.


      Now you can choose your spot, and prop the sticks up against each other. Using some string, I then wrapped it around all three sticks at the top, and tied them together. 


Make sure to pull tight!


      Then I wrapped the string around, under, and over the sticks in varying ways. This will make it nice and sturdy. It might wobble a little bit, but as long as nothing is pushing or bumping into it, it won't fall down. 


Then I added a string of lights. I tucked in the end of the cord into the top of the tripod, and then wrapped it around, keeping to the outside. I tried to keep the lights taut, but don't pull too hard or you might collapse the tripod into itself. 


      Then you can really decorate it as you see fit! I stuck with a silver and gold motif since I used only white lights. A vintage string of pearls from my childhood also added to the metallic look. 


For a tree topper, I just made an origami paper star and hung it. 
I used this tutorial, here. 


So for a grand total of FREE (sticks were found, and everything else was on hand) I have an impressive little display. What I like most about this, is there's room for presents inside the tripod formation as well as around it. So more space saving for apartment dwellers!


      I guess it's a little more bohemian than the average christmas tree, but I think it'll suit us just fine this holiday. 


Wednesday, December 3, 2014

Marimo 101: Easiest Pet Ever


I always daydream about having a little aquarium, and having lots of cute little fishes swimming around, happy and healthy, all thanks to me. But that's why it's a daydream, I would be a horrible fish owner who constantly forgets to feed/clean/ do the basics of taking care of them. And that's why a Marimo is so great! It's really one step up from a pet rock. No offense Marimo... at least you're alive! So if you're looking for a first pet for a kid, or just a little friend to have nearby, a Marimo is a great thing to get.

As for the basics, there's tons you can read online, but here are the main facts:
-They originate from Lake Akan in Japan, but are also found in Iceland and Scotland.
 -Rolling around on the bottom of the lake forms the round shape.
-They are commonly referred to as 'moss balls' but are actually algae.
-Marimo roughly translate to 'bouncy plant'
-They are considered good luck!

Etsy is a great resource for purchasing a Marimo, and cute containers for them. I personally got mine at a Petco where they are sold as natural filters for aquariums. 

Here is how I take care of my guy. But please don't judge me on how he looked when I set out to write about him...


      Ahhh! Sorry guy! You really should change the water every 1-2 weeks, but I had neglected him. But they are very resilient and he's fine. Really, the only way to kill them is if the water is completely evaporated, or if he was getting no light at all. Even lamplight is fine to use. And as long as the water never hits freezing, the temperature doesn't effect them in a bad way either.


      So I gave him a good, gentle rinse (tap water is fine) and cleaned out his bowl, but he's been in this bowl for almost 2 years now so I thought he was due for a change up. 


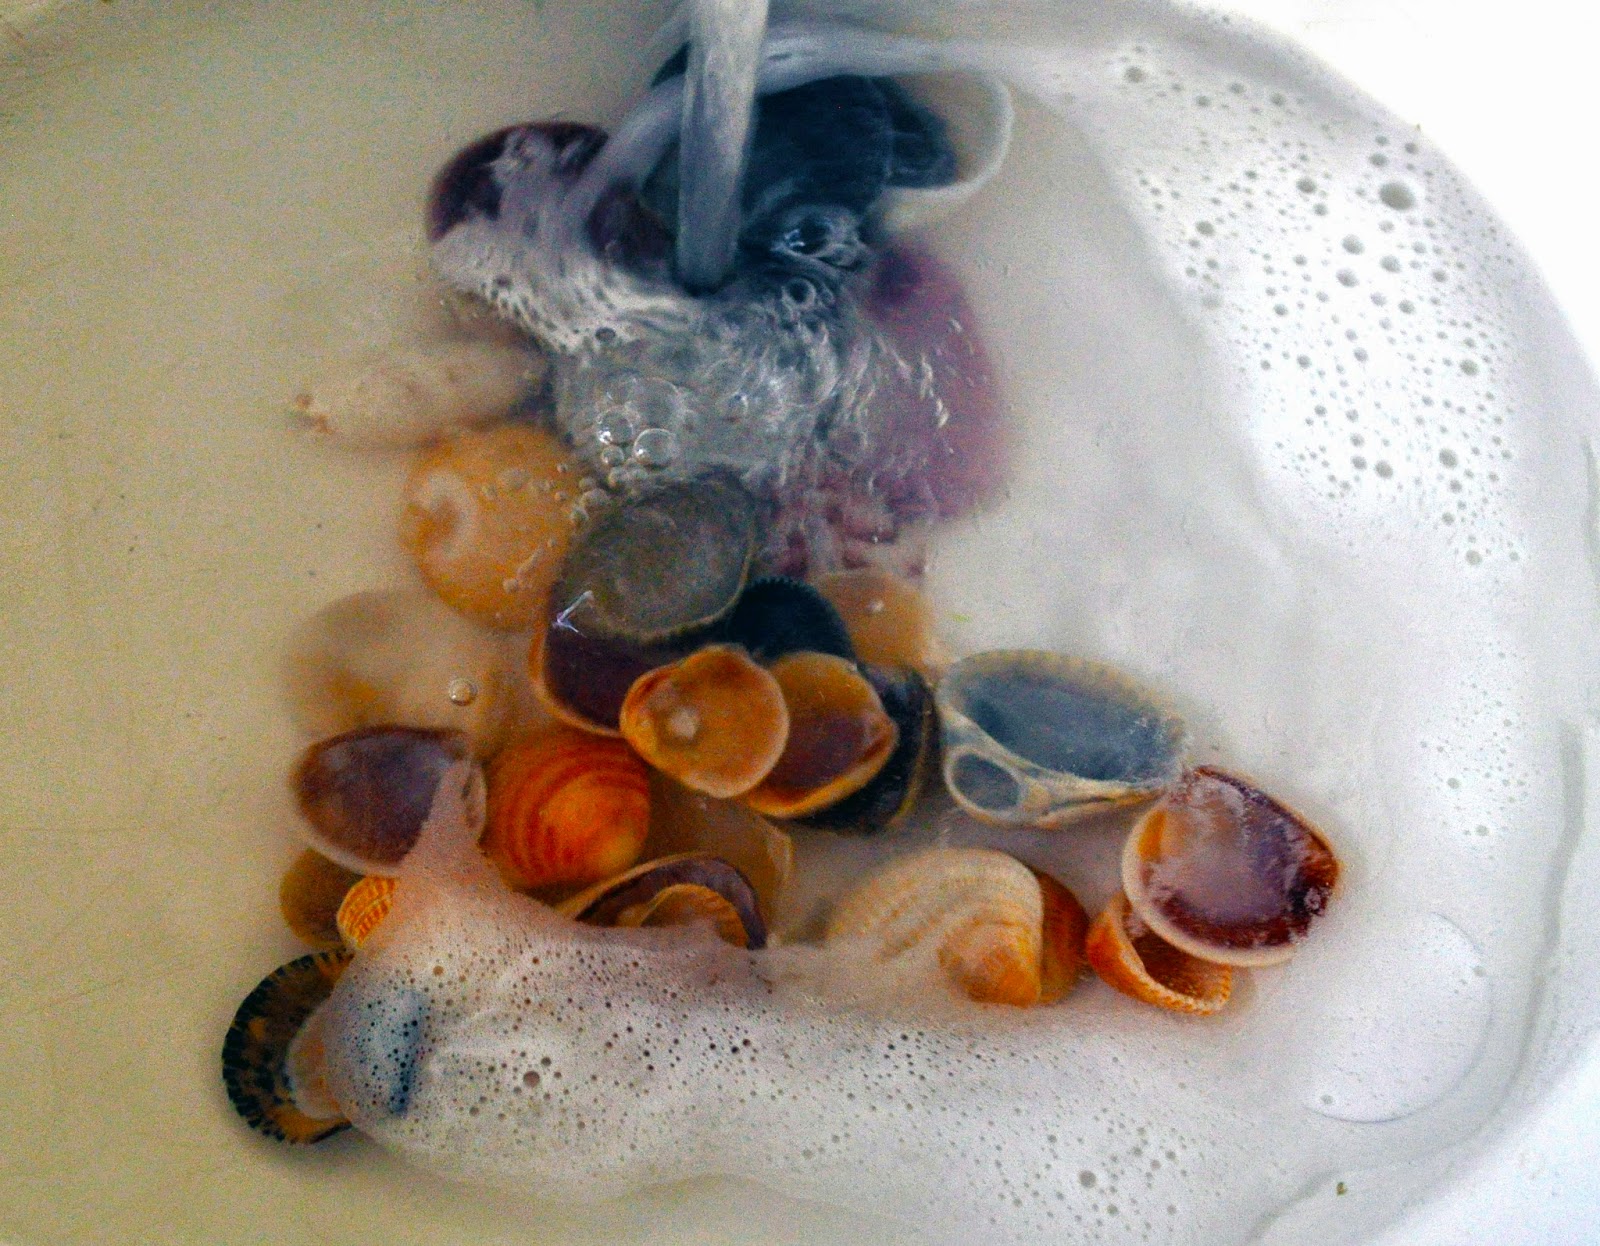
      I have a large collection of shells from various beach trips, so I picked out all the little ones, gave them a rinse, and found a wider, more square jar to use. I often see Marimo sold in jars with the lid shut, so it's no problem to do so. 


      That's so much better. I'm hoping the lid helps the water stay a little fresher longer, but I really just need to keep better track of him. But like I mentioned, unless you're trying to, it's going to be pretty hard to let these guys die. So if you're looking for a new type of plant, give this aquatic one a try. And maybe they'll bring a little luck your way. :)


Tuesday, November 11, 2014

Quick & Easy Halloween Decor Tips

      Halloween is my absolute favorite holiday. So why did it take me half the month to finally decorate? I think with the colder weather my hibernation habits are kicking in. Sleeping in is my vice and I cannot kick it. Anyways, I didn't buy anything new this year, other than a hanging paper bat. So I tried being creative and walked around the apartment to try and come up with something. Here's the before of my stairway mantel. 


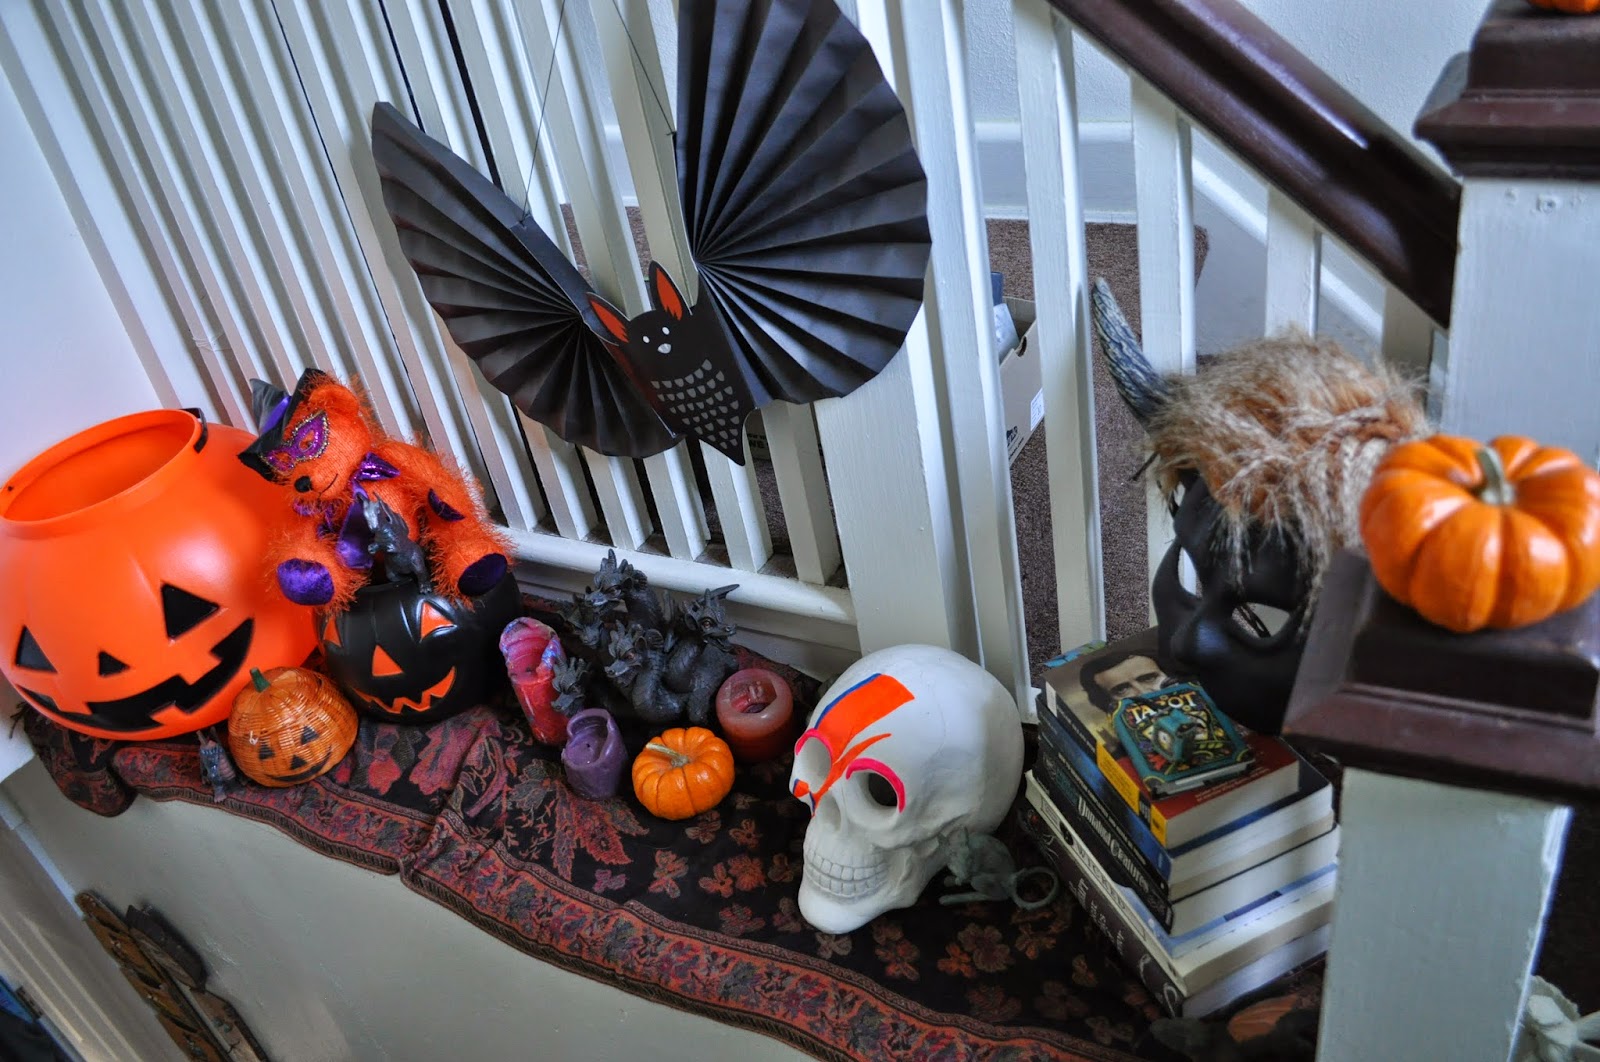
And here is the after. 


      Though I do have a box of Halloween goodies I can dig out every year, there are a bunch of things I added that weren't strictly  'Halloween items'.


      I scanned my bookshelf's for creepy looking covers and titles, found a good selection, and then stacked them according to size. If you're not like me, and don't have the beginnings of a personal library to work with, you can easily run to a thrift store and pick up some books on the cheap. 


      The David Bowie skull is a DIY I did just for fun earlier in the year, and decided he could share in the holiday spirt. DIY from A Beautiful Mess here.  


     The 5-headed dragon is an incense holder that was living on a bookshelf. After grabbing him, I also scattered some rubber dragons I had gotten for a photo project around the area. If you have some old melted candles, they can add a spooky mood to the setting, so don't chuck them, save them in your Halloween stash. The goblin mask was from a Halloween costume a few years ago. 


      That extra large pumpkin bucket is one of my favorite finds. He was at Target last year, but I didn't see them bring him back for this season. The sneaky mouse in the corner was also a bookshelf find. 


As for the rest of the stairwell/hallway, I filled it with the extra decorations in my stash, as well as some baby pumpkins. Those are a great, cheap way to fill in space and create a great autumn vibe. 


      If you have any great photos that fit the theme in anyway, nows the time to show them off. If you can, choose a frame that compliments a certain color found in the photo. 


      And don't forget the dollar store is a great place to score things. The vase and the black rose both came from there. And another Nightmare before Christmas character joins the other side of the windows. 


      That's what I managed to throw together this year. With more time and effort, I'd really go the extra mile and make my entire space feel spooky and festive. I'm sure we all feel that way. I hope this inspires any last minute decorations for those who need a little push! Happy Hauntings!


Tuesday, October 21, 2014