Showing posts with label easy. Show all posts

Keychain Redo


      Sometimes those little details in daily life really get forgotten about. It might not be super important, but it can be nice to take a moment to address them. In this case it was my keys. Though they have been added too throughout the past few years, I was never taking anything away, and what I was left with was a cluttered mess of old rings with no purpose, and a bunch of old rewards cards I never used. So I deciced to start fresh.


      You can see how bulky it really is here as well. Can you believe I was having a hard time getting my apartment keys out? And this time of the year, I want to get in my apartment as fast as possible, and not fumble in the cold for what feels like forever. 


      Basically I took everything off that was not needed.I kept the keyring of rewards cards in a pocket in my purse, just in case. These are the only things I use every single day. (aside from the spare car key to my boyfriend's car, but that is also important). 


      But of course you need some sort of keyring to hold them altogether. I've been on the lookout since having this idea in mind, and I found this keychain on a trip to NYC. It's cute and fun, but also simple and stylish so it worked perfectly. 


      Much lighter! I noticed the difference in weight right away. Also less noisy, and much easier to grab the key I need with no hassle.


      Again, it's not a huge change or accomplishment, but it's a nice way to freshen up something you use everyday. It's almost like cleaning up a room, just on a much smaller scale. :)


Thursday, February 19, 2015

Easy DIY: Swear Jar

      Sometimes you just gotta slap something together and call it a day. I still don't really have a work space at the moment, but I hate to be unproductive on my days off. I've also been so uninspired lately as well. I went thru some of my old bookmarks and found something I've been meaning to make, and just so happened to have the materials needed.

      A swear jar! Haha, personally I don't use swear words and Christopher rarely curses either. This is just something to collect change in, with a little humor added to it.


      I think it's pretty obvious how to make this! I had some nice vinyl alphabet stickers and a cool jar on hand and that's all it took. 


      Now anytime we have visitors I'm sure they might be shocked at how many times we've had to add to the jar. ;) 


Friday, January 30, 2015

DIY Tripod Christmas Tree


      Today I noticed it was already the 3rd of December and after dealing with the inevitability of time constantly passing I thought to myself "should I do a tree this year or not?'

      Last year I bought a sad 2 foot tall, pre-lit tinsel tree at a dollar store and it was so dumb. The year before I tacked up string lights to the wall in the shape of a tree. That was much cooler, but man.... did I leave some holes in the wall. Sorry landlord.

      So for this year, I wanted something a little more grand, but that was still doable in our teeny apartment. Oh, and also cheap. Like dirt, cheap. Nothing says the holidays like being flat out broke.

      My solution at first was going to be to go out and buy dowels. But that requires money! Instead, I went outside and found sticks on the ground. For free!


      You obviously can use dowels if you want. And the length depends on the  height you want the tree to be. I wanted something decently tall, so these are about 6 feet long. 


      It's been raining here for the past few days so the sticks I found were yucky and damp. It you find nice dry, pretty sticks, you don't have to go to the troubling of whittling them unless you like that look. This took me a long time! But I wanted to get this done today, and I like the lighter wood underneath the bark. 


      I am no perfectionist, this is what I ended up with. I did some light sanding, but I'm sure with more effort I could have smoothed them down much more.


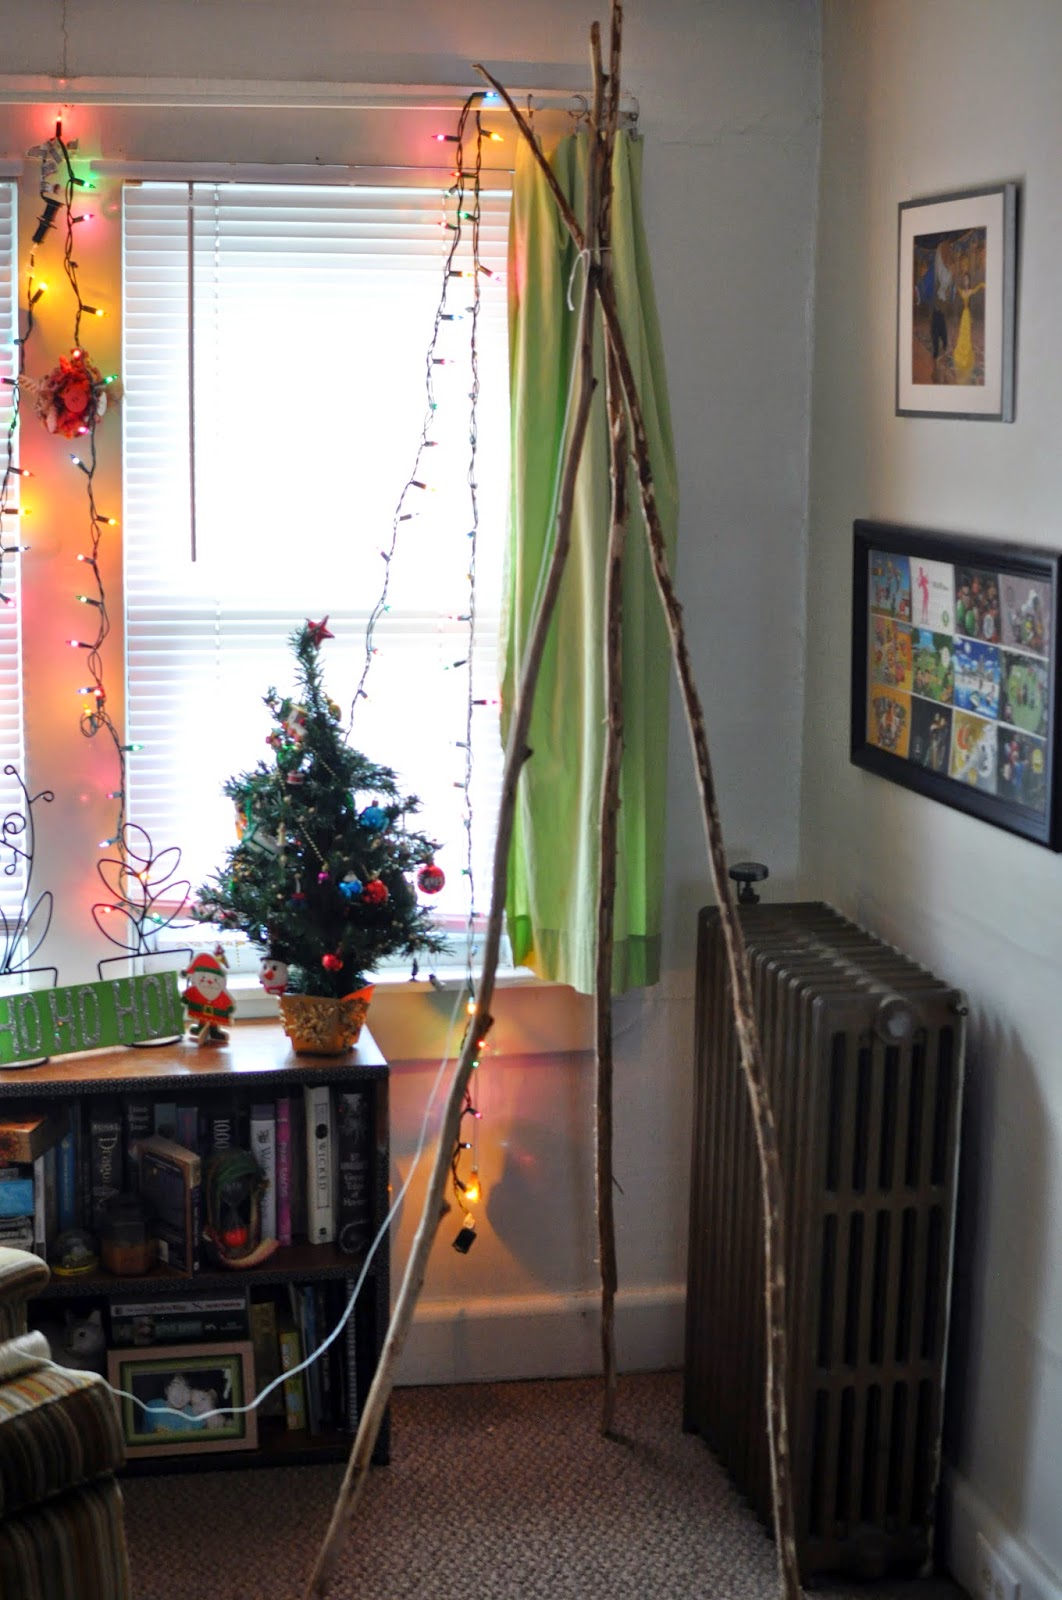
      Now you can choose your spot, and prop the sticks up against each other. Using some string, I then wrapped it around all three sticks at the top, and tied them together. 


Make sure to pull tight!


      Then I wrapped the string around, under, and over the sticks in varying ways. This will make it nice and sturdy. It might wobble a little bit, but as long as nothing is pushing or bumping into it, it won't fall down. 


Then I added a string of lights. I tucked in the end of the cord into the top of the tripod, and then wrapped it around, keeping to the outside. I tried to keep the lights taut, but don't pull too hard or you might collapse the tripod into itself. 


      Then you can really decorate it as you see fit! I stuck with a silver and gold motif since I used only white lights. A vintage string of pearls from my childhood also added to the metallic look. 


For a tree topper, I just made an origami paper star and hung it. 
I used this tutorial, here. 


So for a grand total of FREE (sticks were found, and everything else was on hand) I have an impressive little display. What I like most about this, is there's room for presents inside the tripod formation as well as around it. So more space saving for apartment dwellers!


      I guess it's a little more bohemian than the average christmas tree, but I think it'll suit us just fine this holiday. 


Wednesday, December 3, 2014